

I was recently experimenting overlays using ImageMagick, while there is plenty of information on the internet on how to do this I had to filter through a number of links including the ImageMagick docs to arrive at a set of commands that worked for me. Hope this blog helps others who may have similar requirements.
Before we begin let us first understand image overlays and why and where would we need these in our image pipeline/workflow -
You may have a HQ movie poster and the requirement is to overlay a 4K/HDR logo or it could be a PDP(Product Detail Page) image of a shirt and the requirement is to overlay a discount banner on it to emphasize an ongoing sale on your website etc.
There are plenty of reasons why you would want an overlay function in your image workflow, I have listed a couple examples above. All you need to do is run a few commands to achieve the desired output image. We will explore a couple such examples below.
Can I use ImageMagick for my overlay requirements ?
Yes, depends on what the desired output is but there are plenty of options in the magick toolkit to do so.
Let us now perform a couple different overlays to show you how to do this.
Example 1 -
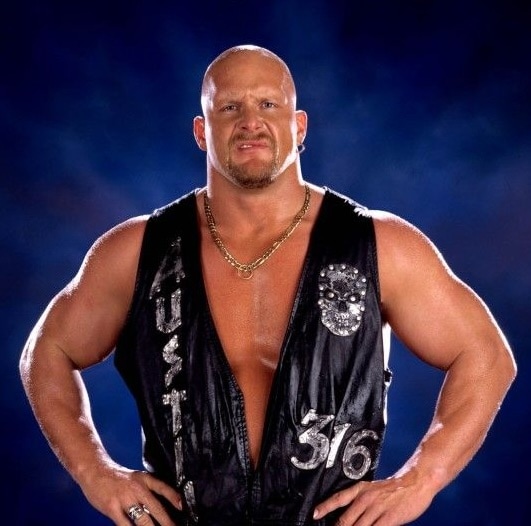
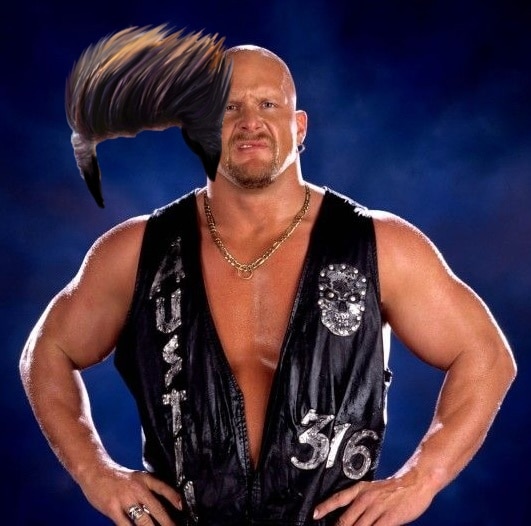
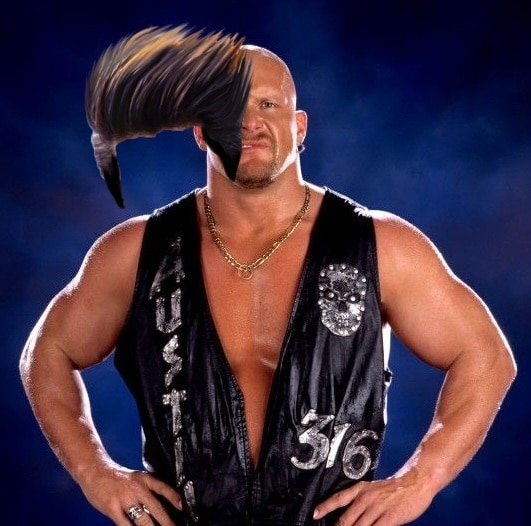
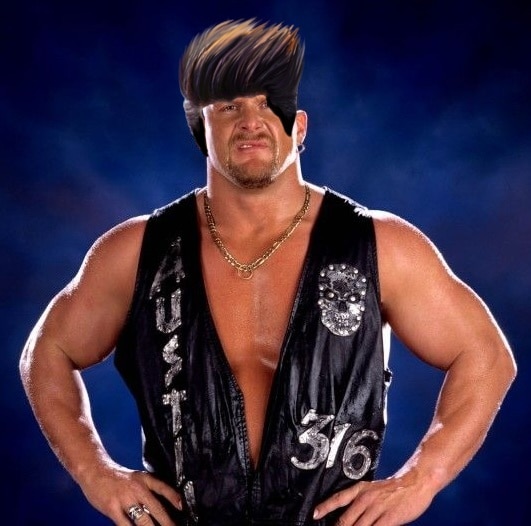
I thought its a horrible idea to overlay a wig on one of the most popular bald headed icons of professional wresting, Stone Cold Steve Austin. But went on to do just that in an attempt to showcase the overlay function and yes as expected the output is quite horrendous. The fact that I also chose one of the most improper wigs to overlay did not help either.
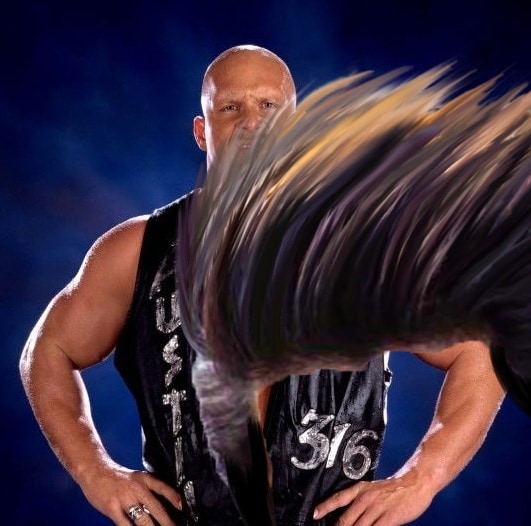
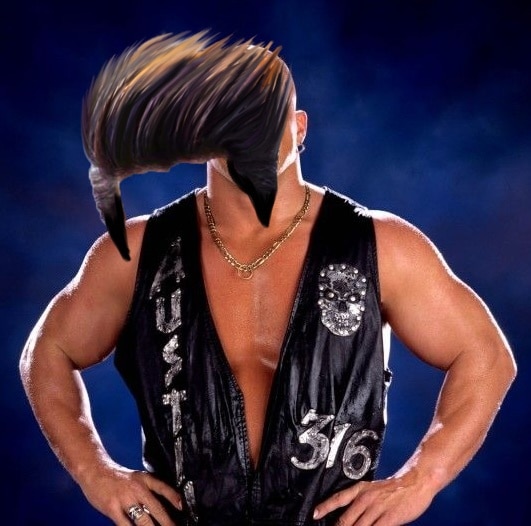
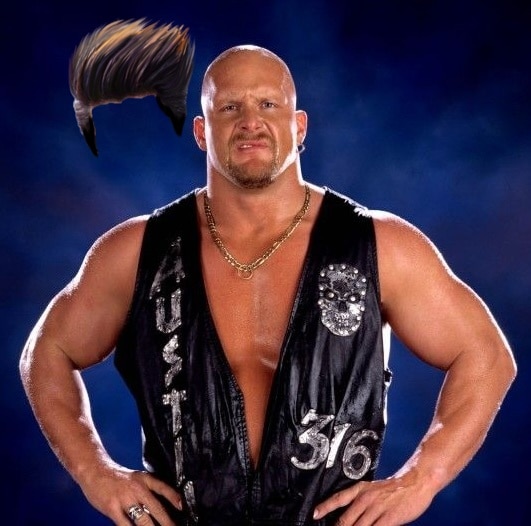
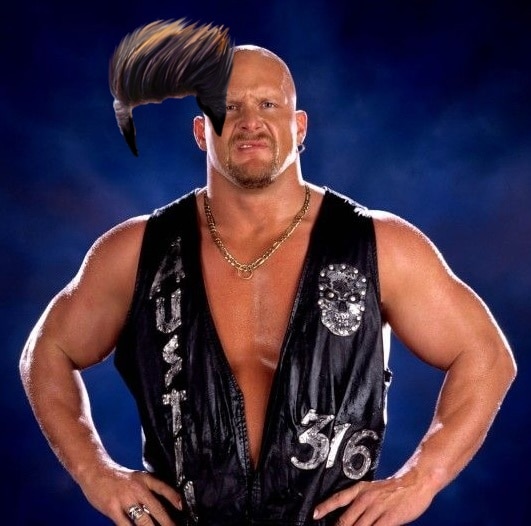
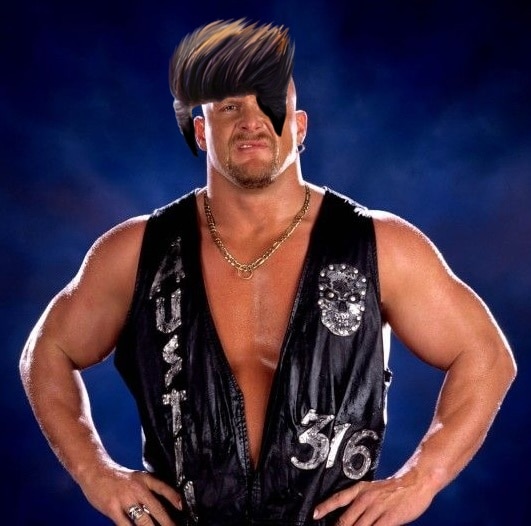
Let us look at the below example sequentially, took multiple horizontal and vertical offsets(x and y) to arrive at the final output, I have listed some of these steps to give you a feel of what it takes to accomplish such tasks.
Step 1: Download a HQ Stone Cold Steve Austin image from the internet.
Step 2: Download a hair/wig png(must be transparent so the overlay can be clean looking on the base image). Step 2 was definitely not find a wig that absolutely does not suit the person in base image but lets park this argument for now.
Step 3: Install ImageMagick on your computer and go through docs for a good understanding of the software.
Step 4: Use the composite tool to overlap one image over the other. Combine this with image geometry option which allows you to set the preferred size and location of an image. You could also leverage gravity for placement.
Original Image :
Sequential steps + outputs -
magick stonecold.jpg hair1.png -geometry '200x200' -composite stonecoldhair1.jpg
magick stonecold.jpg hair1.png -geometry '500x500+0+0' -composite stonecoldhair2.jpg
magick stonecold.jpg hair1.png -geometry '400x400+0+0' -composite stonecoldhair3.jpg
magick stonecold.jpg hair1.png -geometry '400x400+20+0' -composite stonecoldhair4.jpg
magick stonecold.jpg hair1.png -geometry '300x300+20+0' -composite stonecoldhair5.jpg
magick stonecold.jpg hair1.png -geometry '300x300+40+0' -composite stonecoldhair6.jpg

magick stonecold.jpg hair1.png -geometry '300x300+60+0' -composite stonecoldhair7.jpg
magick stonecold.jpg hair1.png -geometry '300x300+90+0' -composite stonecoldhair8.jpg

magick stonecold.jpg hair1.png -geometry '300x300+120+0' -composite stonecoldhair9.jpg
magick stonecold.jpg hair1.png -geometry '300x300+130+0' -composite stonecoldhair10.jpg
magick stonecold.jpg hair1.png -geometry '300x300+130-10' -composite stonecoldhair11.jpg
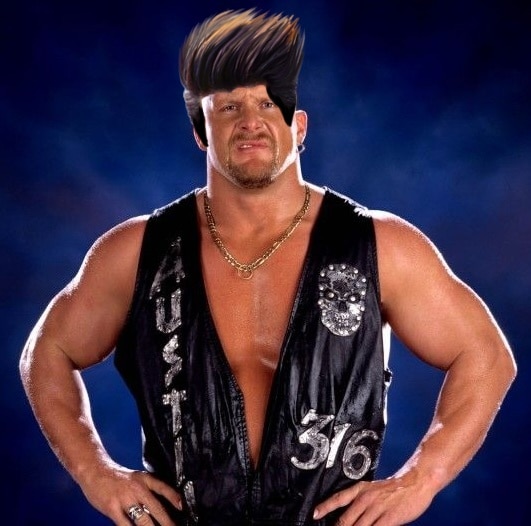
magick stonecold.jpg hair1.png -geometry '300x300+130-20' -composite stonecoldhair12.jpg
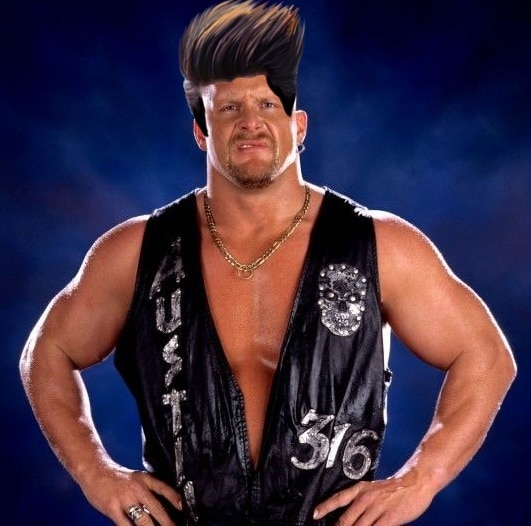
magick stonecold.jpg hair1.png -geometry '300x300+135-21' -composite stonecoldhair13.jpg

Animated GIF showing the sequence above -

Quite amazing the way this GIF captures the steps taken to reach the final output. Now lets look at another example.
Example 2 -
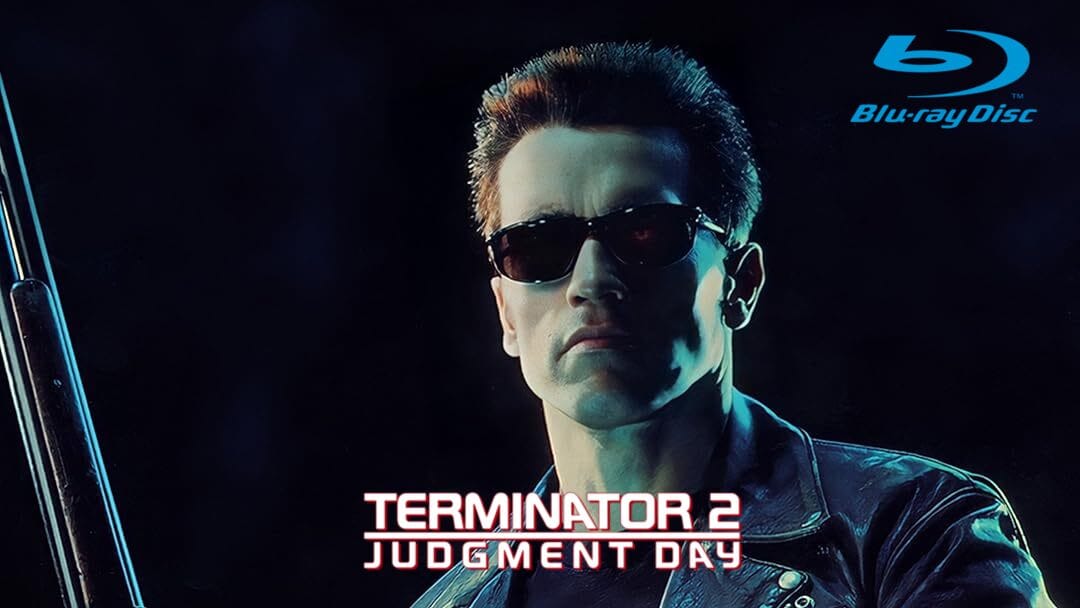
Imagine you have a stock image from a movie and would need to overlay the title and maybe add an additional overlay for the type of disc you are selling.
This photograph is from an extremely popular science fiction movie, Terminator 2 -
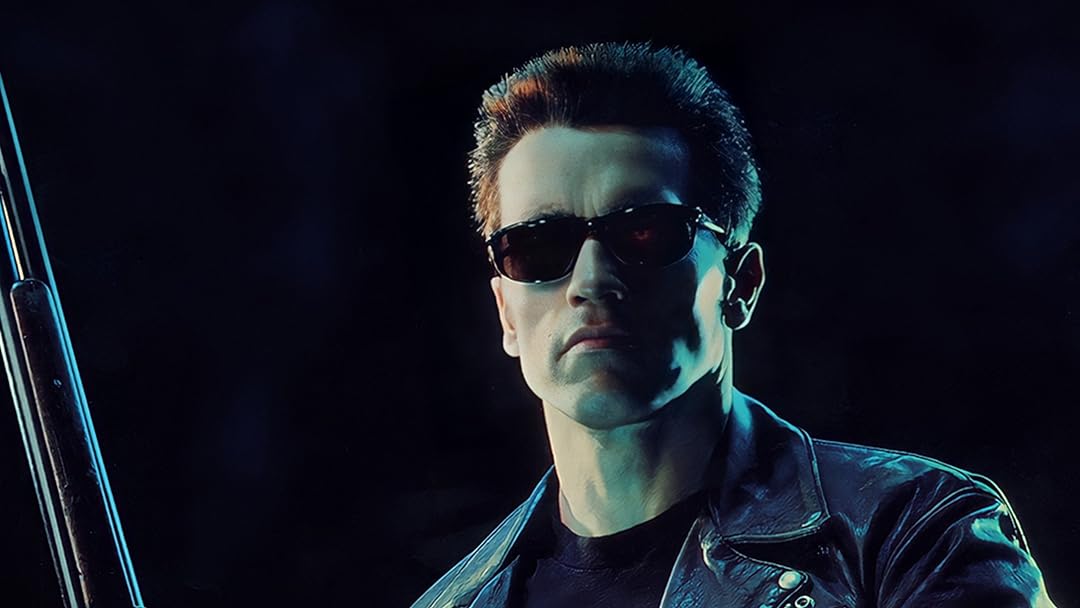
Image Source : Prime Video
Let us now add 2 overlays using the same composite tool. Also leveraging the geometry and gravity options for respective placement of both the overlays -
Overlay 1 (Title) -

Overlay 2 (Disc Logo) -

Final Output -
magick terminator2.jpg t2title.png -gravity south -geometry '400x150+20+0' -composite bluray.png -gravity northeast -geometry '300x150-50+0' -composite t2final.jpg
This brings us to the end of this blog. Hope you enjoyed reading and may have learnt a thing or two. Thank you.

0 Comments